Table Of Contents
1. Installation
- Step 1: Install Blockonomics Plugin
- Step 2: Sign up to Blockonomics
- Step 3: Create a Wallet
- Step 4: Setup API Key
- Step 5: Test Setup
2. FAQs
- How do I edit text/customize the appearance of the checkout page?
- Orders are not getting marked Paid on payment. How do I fix?
- My customers use the TOR browser and don't have JavaScript enabled. What to do?
Installation
Step 1: Install Blockonomics Plugin
In your WordPress dashboard, go to Plugins and click on Add New Plugin

Search for "WordPress Bitcoin Payments - Blockonomics". In Search Results, Next to our plugin click on "Install Now".

Once installed, click on "Activate" to activate our plugin.

Once activated, you will be redirected to Plugins page. In Plugins page, you will see this notification banner. Click on "Account Setup page" to complete the setup.
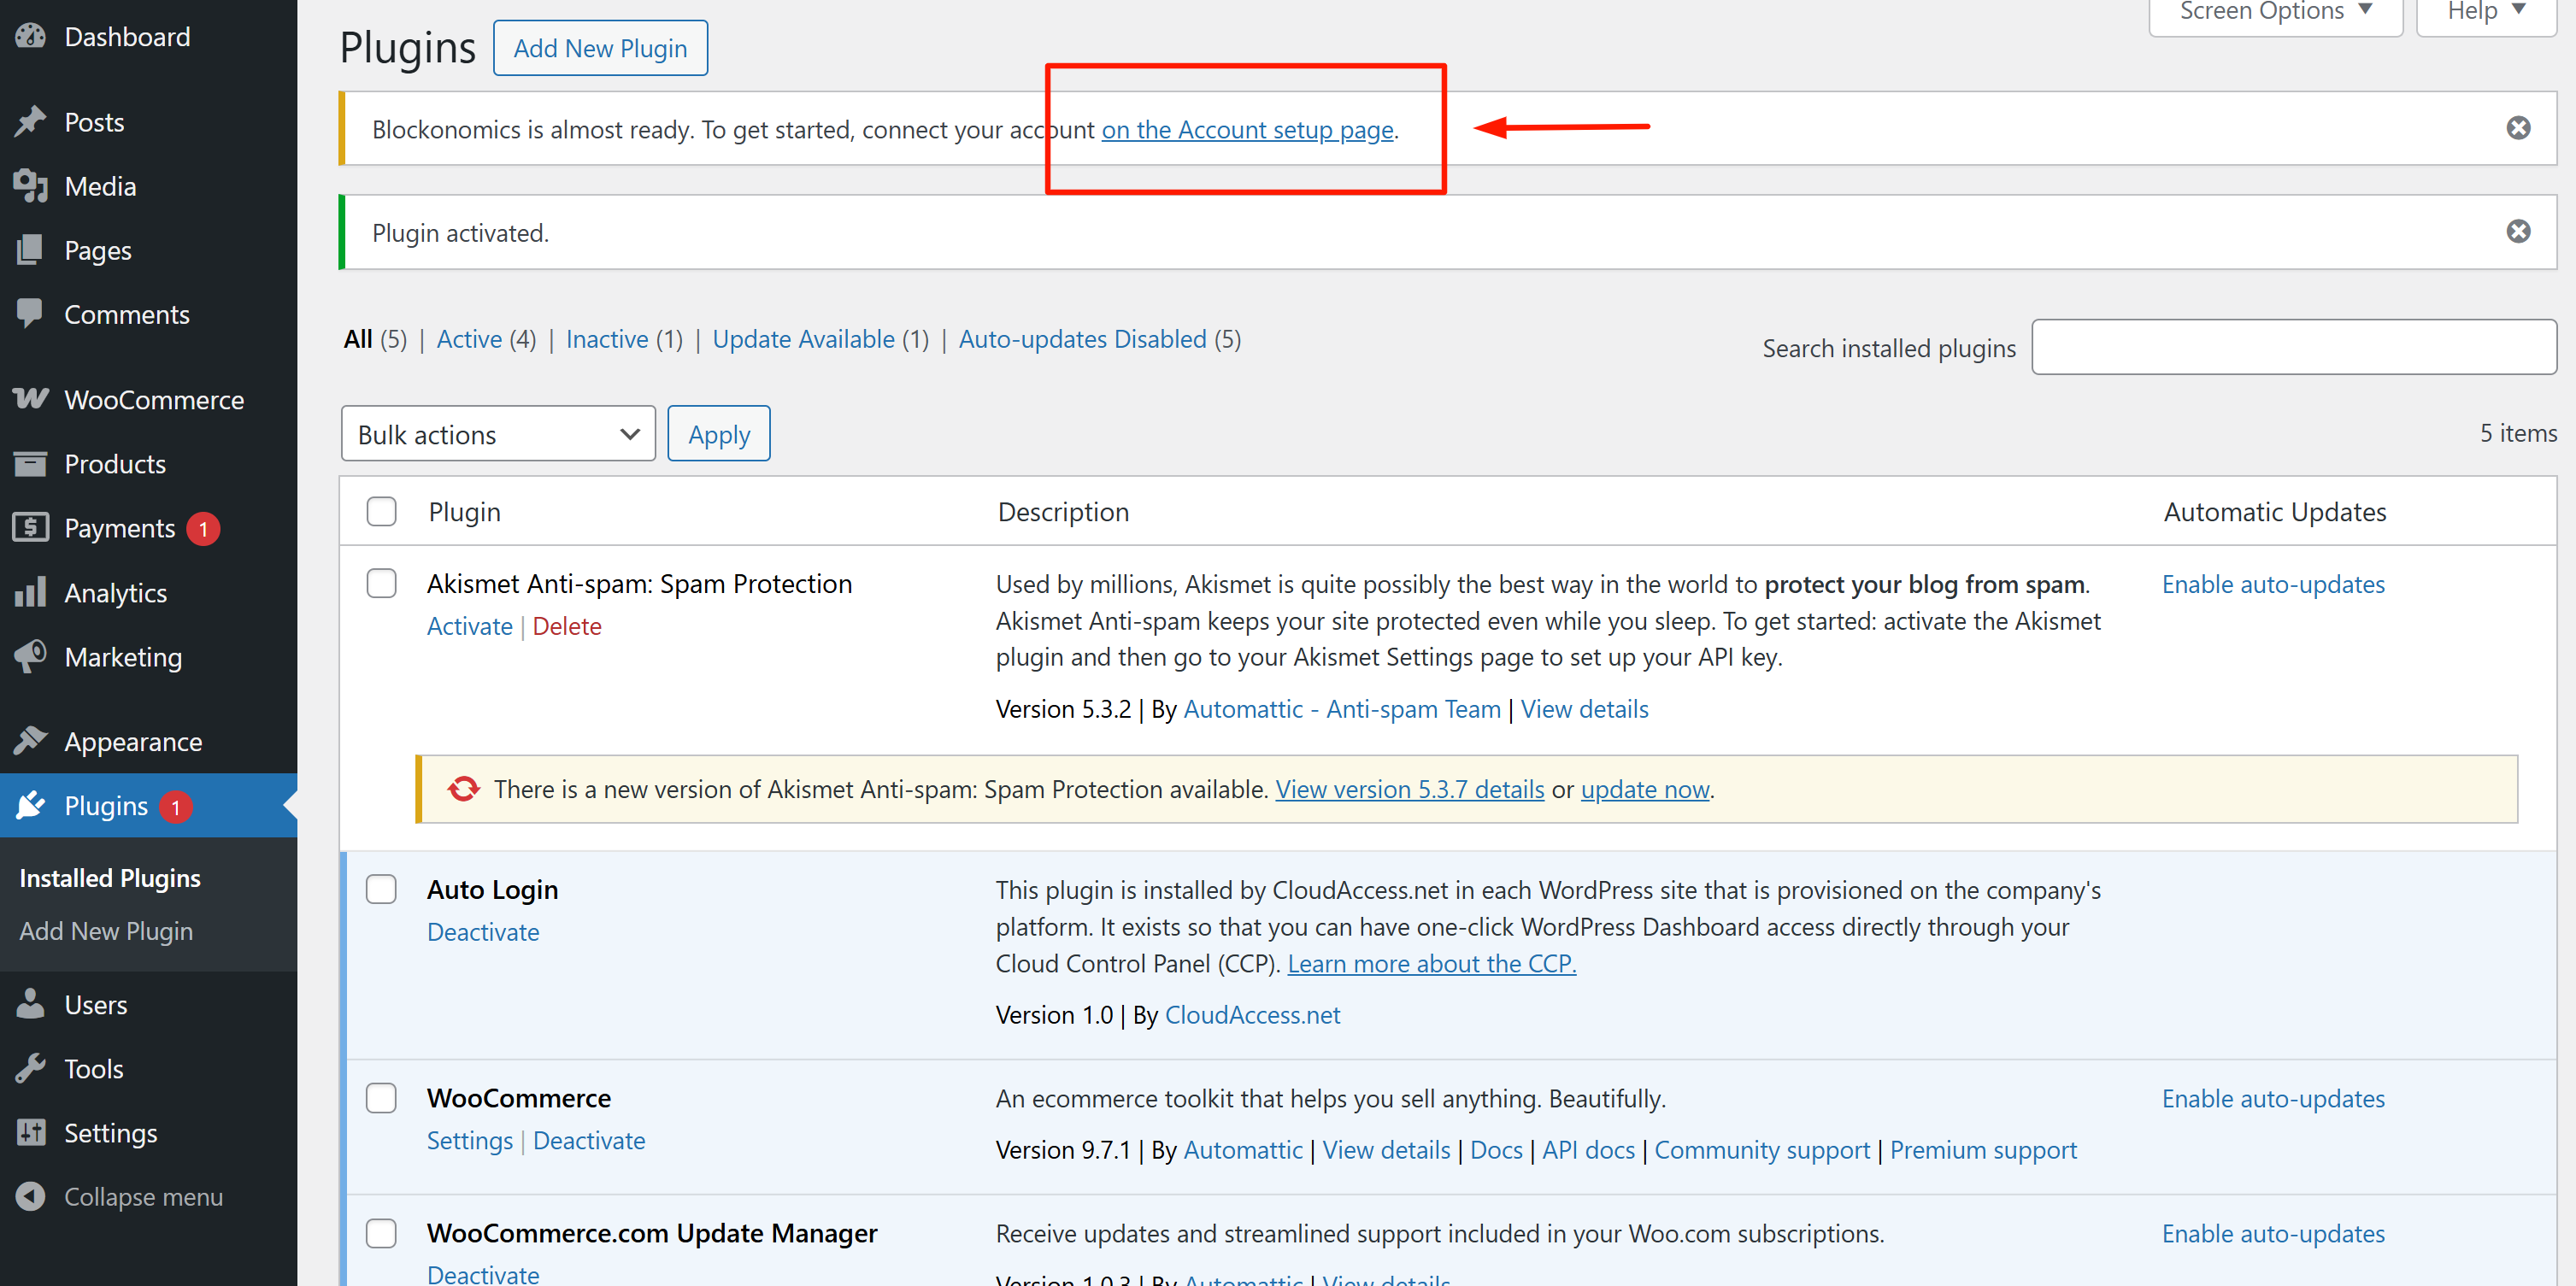
Over here, you will be given 3 steps to complete:

Step 2: Sign up to Blockonomics
- Head over to the Blockonomics website.
- You can create an account using your email and a password or opt for the simpler option by signing up with your Google account.

Step 3: Create a Wallet
Go to your Blockonomics dashboard > Wallets. Click on 'Wallets' and then select 'Add a Wallet' -> BTC Wallet'.
(If you don't already have a Bitcoin wallet, we recommend using Electrum wallet.)

Enter "Name" of your wallet. You can enter any name that makes it easy for you to remember which wallet it is.

Enter the xPub of your receiving wallet. [to find the xPub of your wallet, click here]
Click on "Create Wallet" button to save this wallet.


Step 4: Create API Key
Go to Dashboard > Stores in Blockonomics and Copy the API Key:

Head back to your WooCommerce dashboard and paste the copied API key in the section below:

Enter a Store name that's easy for you to remember. Then click on "Continue".

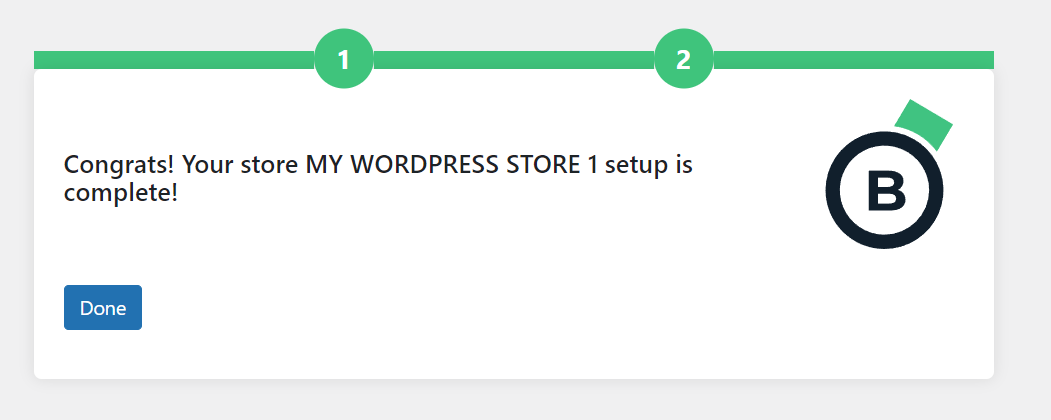
A store will be created in your Blockonomics account, linking your WordPress/WooCommerce store. You can see the store created on the "Stores" page in your dashboard. Now, you can click on "Done".
Once you click "Done" you will be redirected to WooCommerce > Settings > Payments > Blockonomics. Click Manage.

Step 5: Test Setup
Here in the "Store" section, click on "Test Setup".

Once successful "Test Setup" is done, you should see a notification with Green checkmark next to "BTC" indicating that your Blockonomics plugin is ready to accept BTC payments.
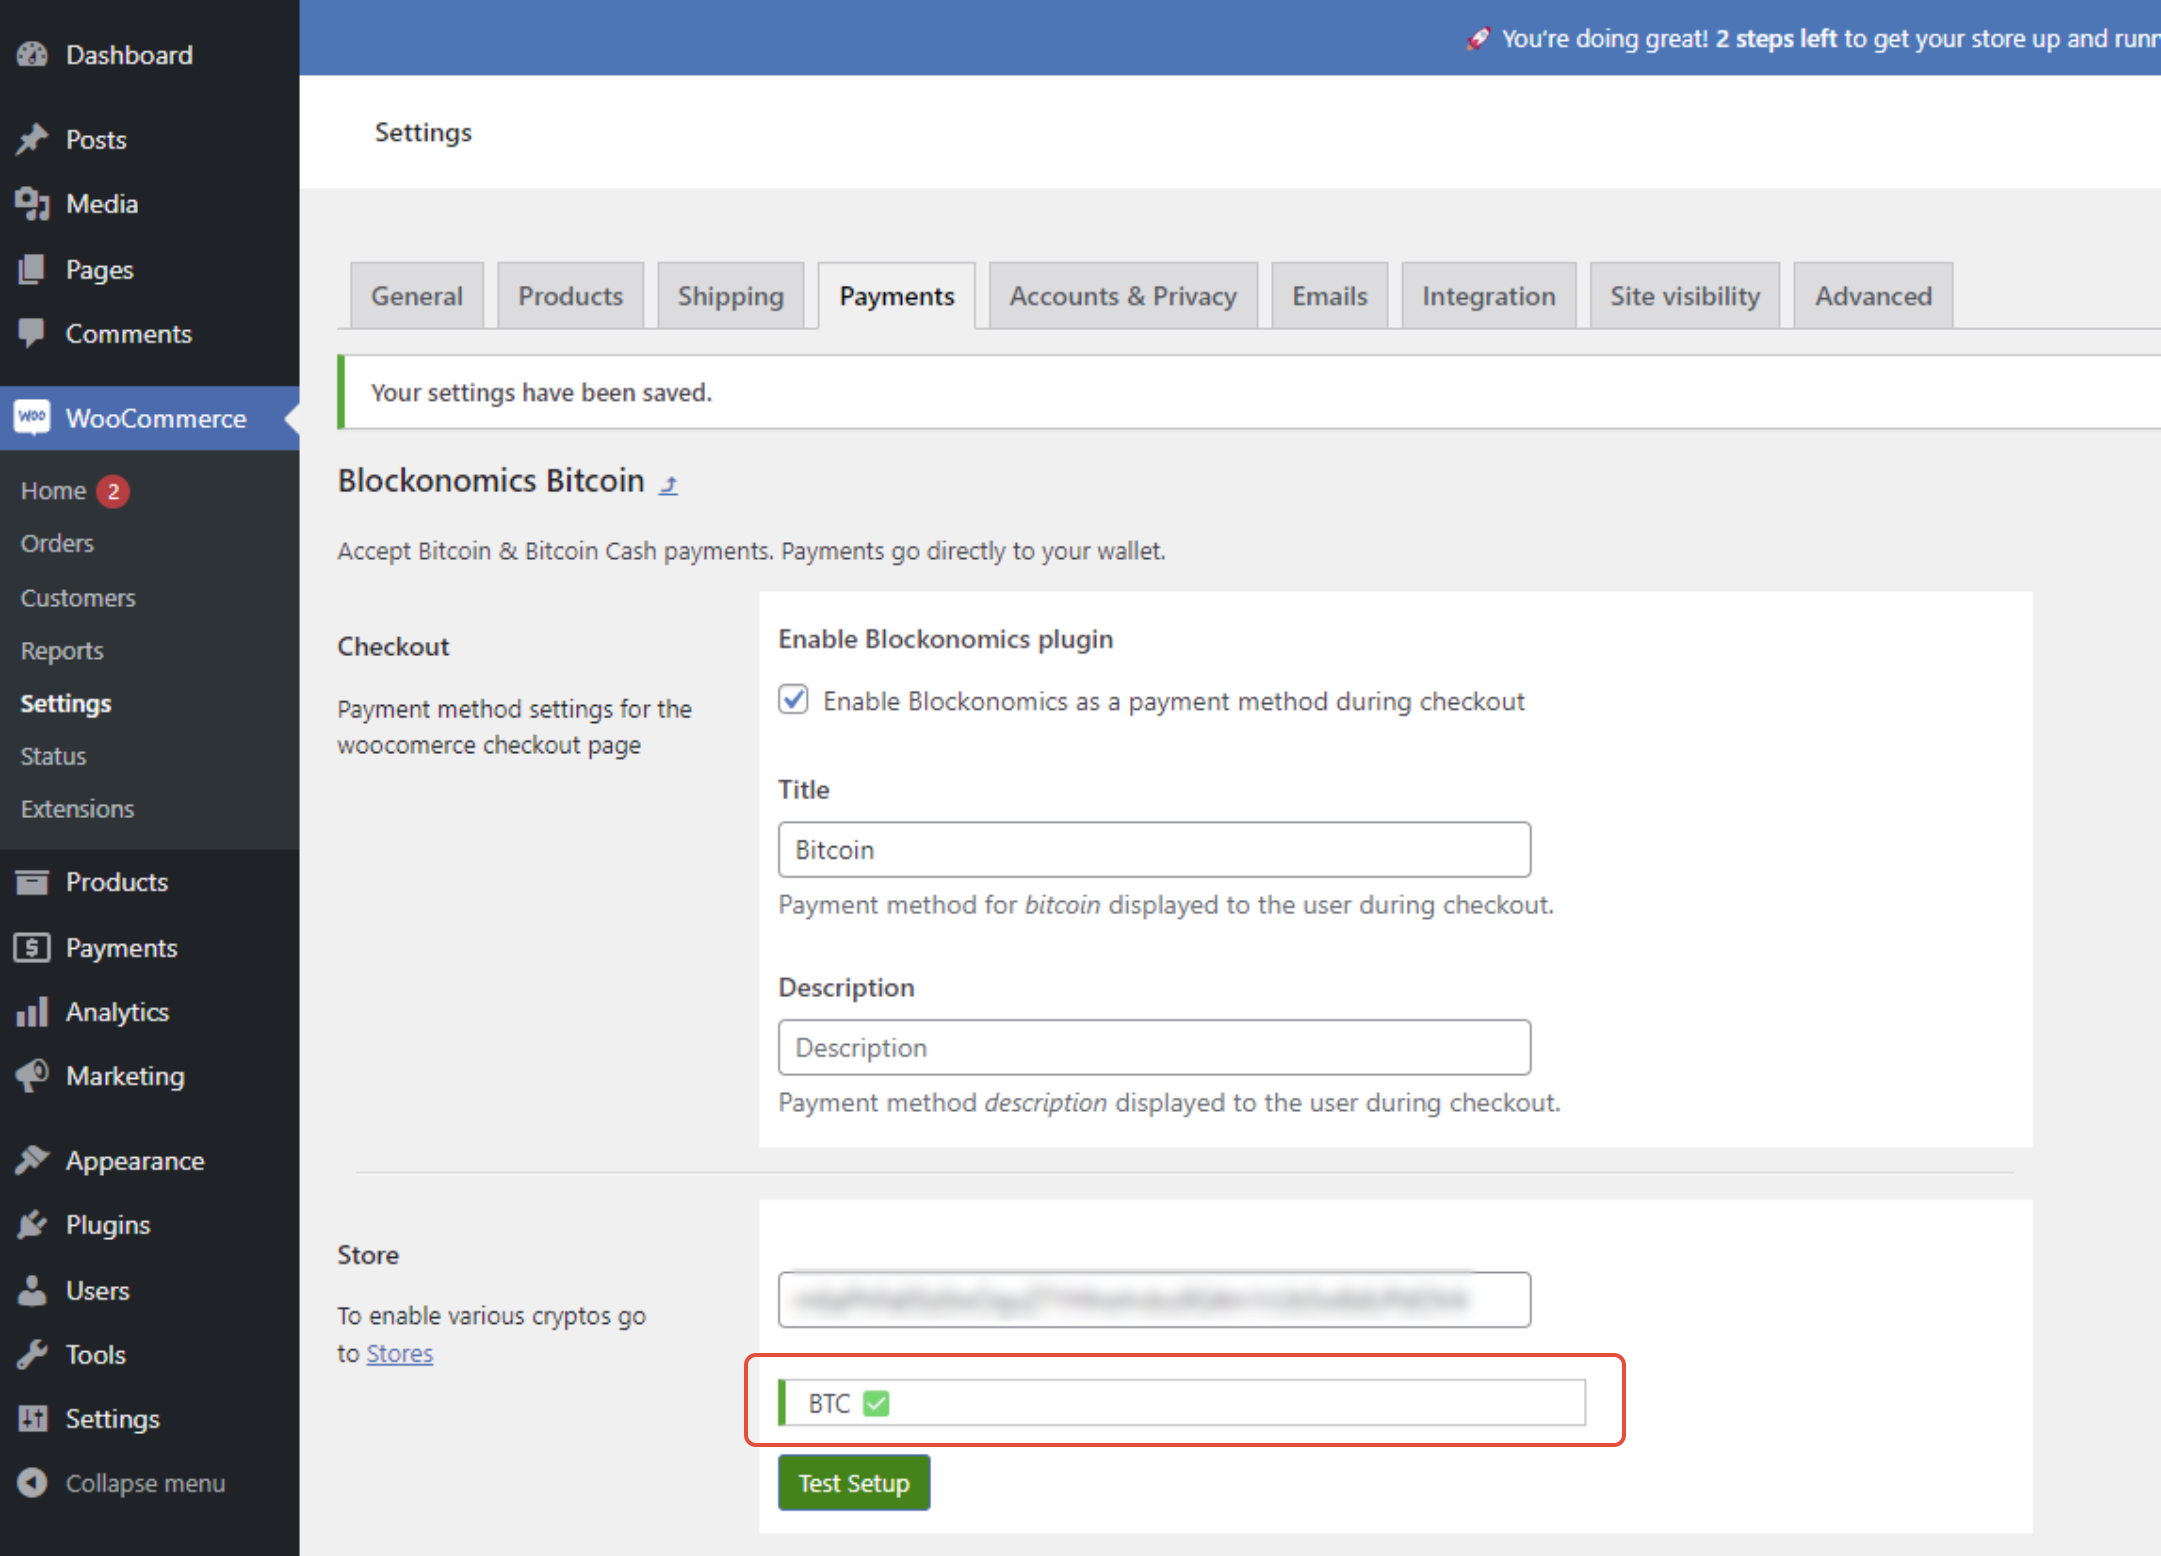
Please save all the changes and get ready to accept BTC payments ou your WooCommerce store!
FAQs
1. How do I edit text/customize the appearance of the checkout page?
Please consult this article to find out how to customize the checkout page as desired.
2. Orders are not getting marked Paid on payment. How do I fix?
Blockonomics server sends payment callbacks to your system to update the transaction status. If these payment callbacks are successful, your orders get marked as Paid. But if for some reason these callbacks fail, it means that our server couldn't tell your system that orders were paid. Most common reason for callbacks failing is your webhost blocking incoming callbacks, thinking they are from bots or are part of a DDoS attack and you have a DDoS protection in place. Please consult this article on how to debug and fix this.
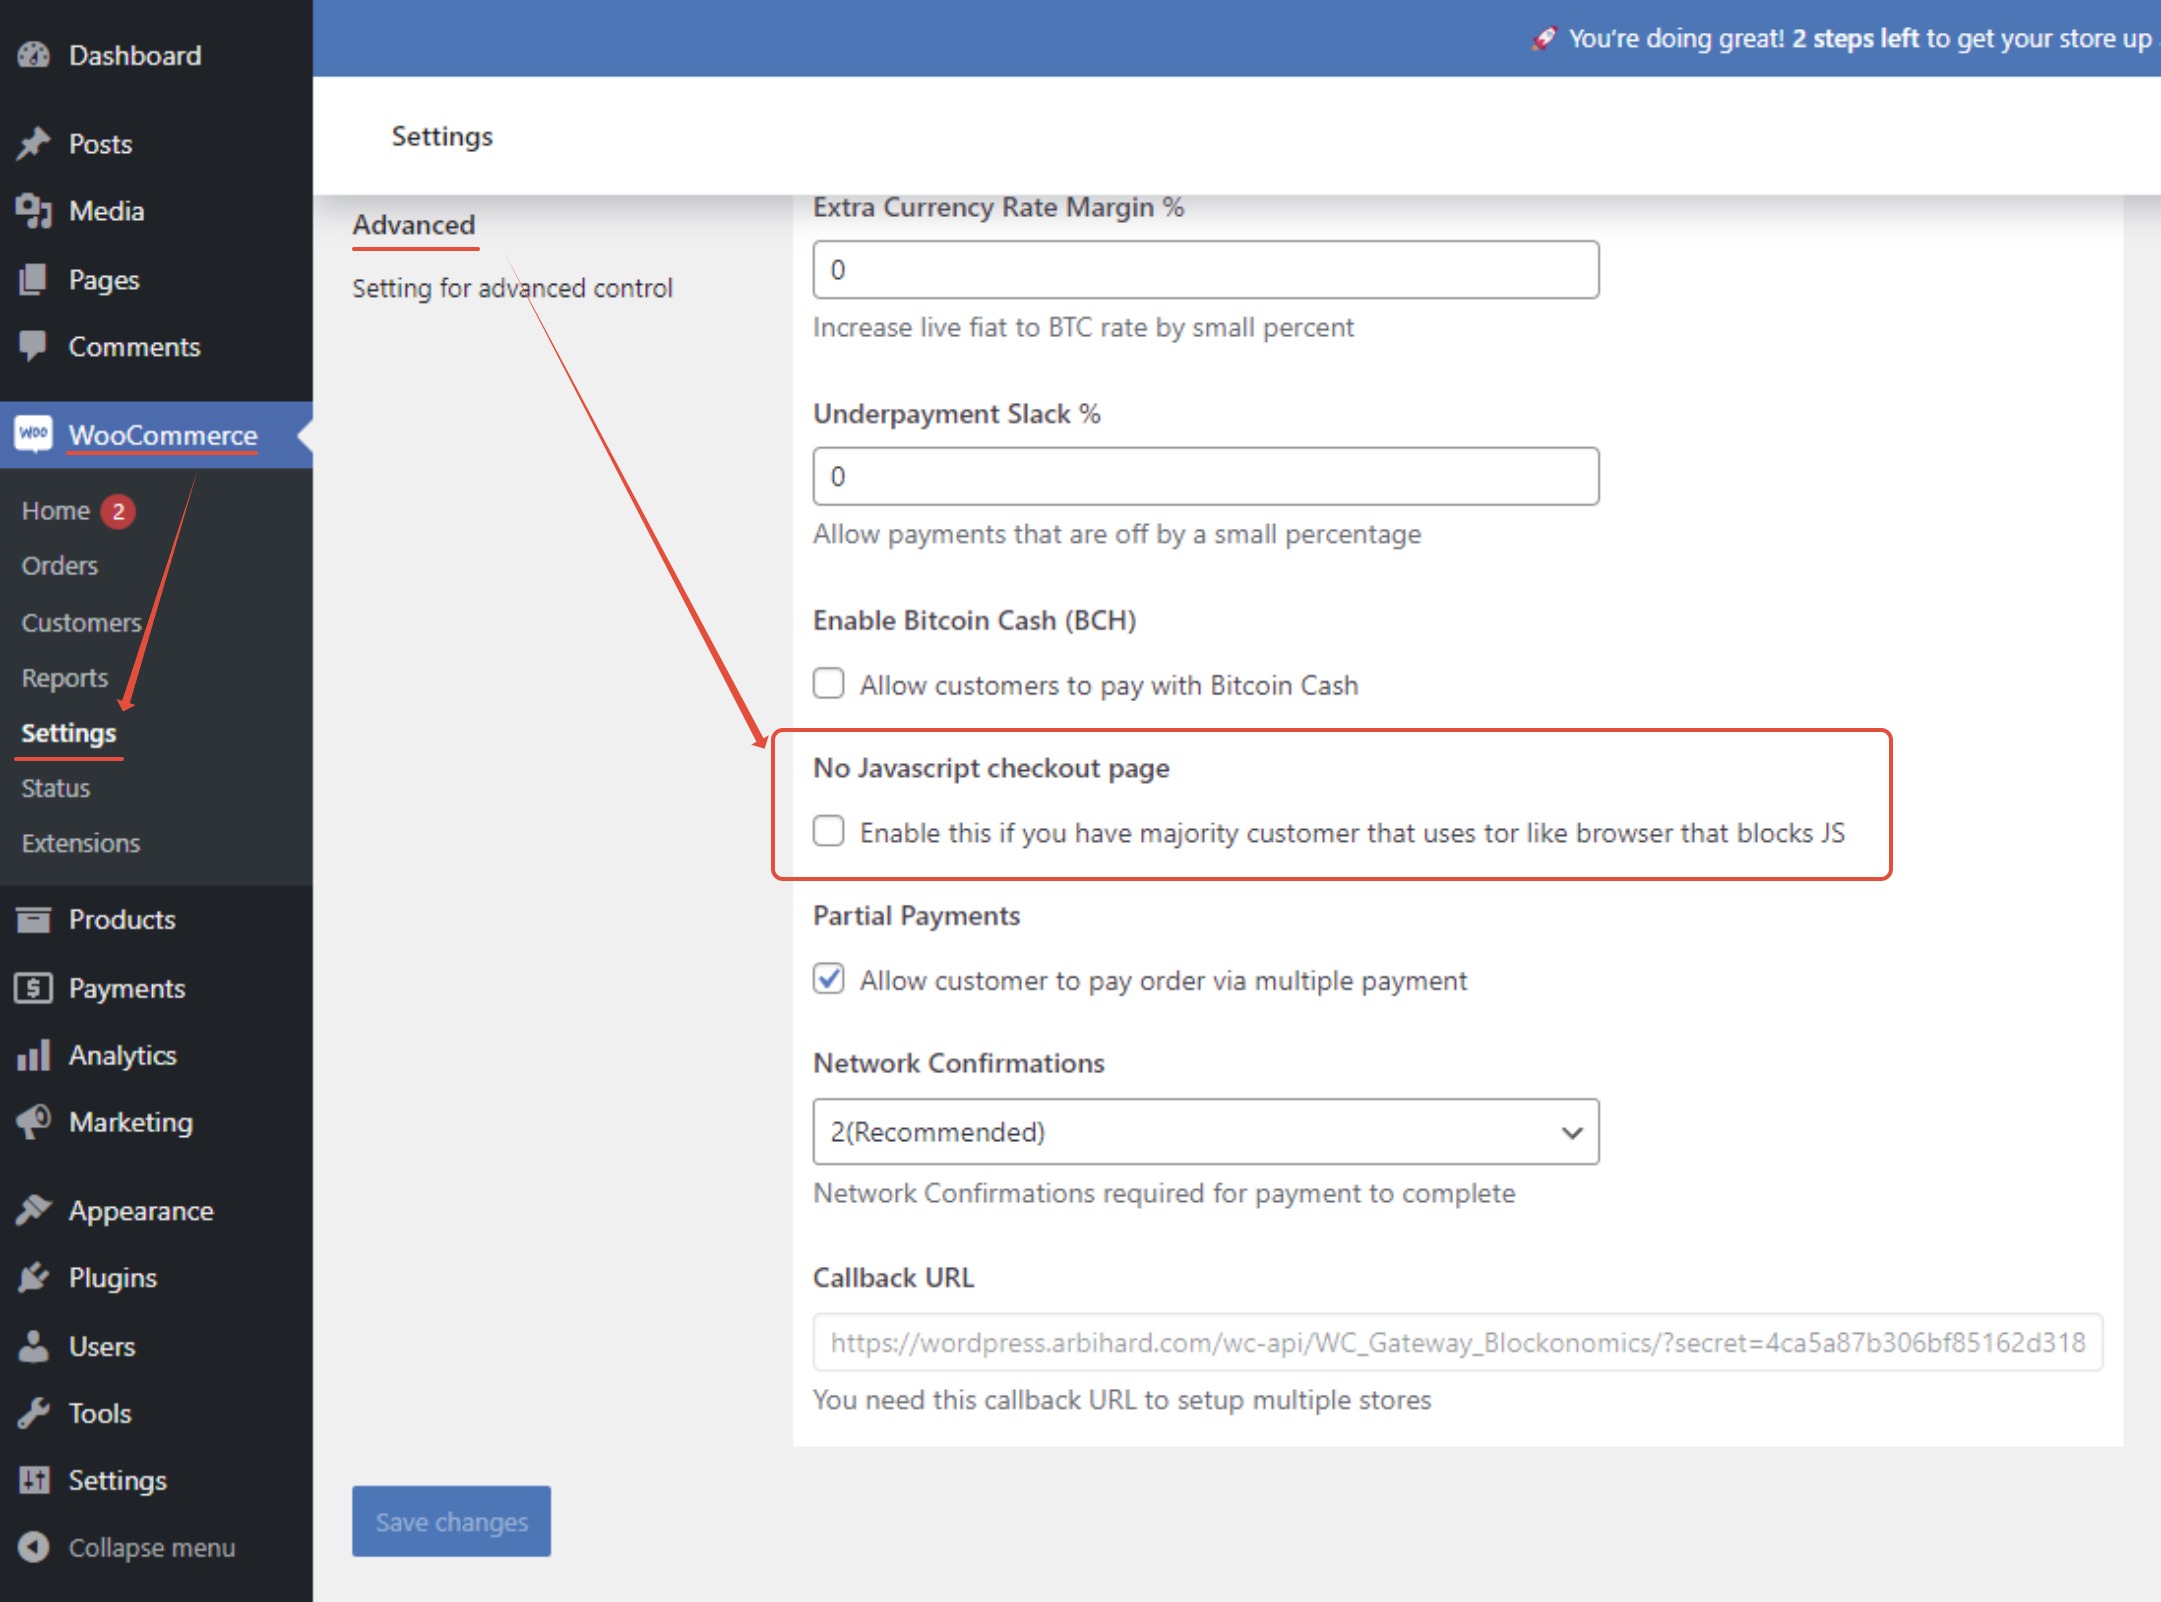
3. My customers use the TOR browser and don't have JavaScript enabled. What to do?
You can run our plugin in No JavaScript mode by checking the No JavaScript checkout page option in WordPress Admin Dashboard > WooCommerce > Settings > Payments > Blockonomics Bitcoin > Advanced.