
TABLE OF CONTENTS
- Step 1 — Create your account
- Step 2 — Add your wallet
- Step 3 — Connect your platform
- Step 4 — Create a store
- Step 5 — Test your setup
Accept your first crypto payment in under 10 minutes. You'll need three things — a Blockonomics account, a wallet you control, and a store connecting them to your website. This guide walks you through each one.
Already have an account and a wallet connected? Jump straight to Step 3 — connect your platform.
Step 1 — Create your account
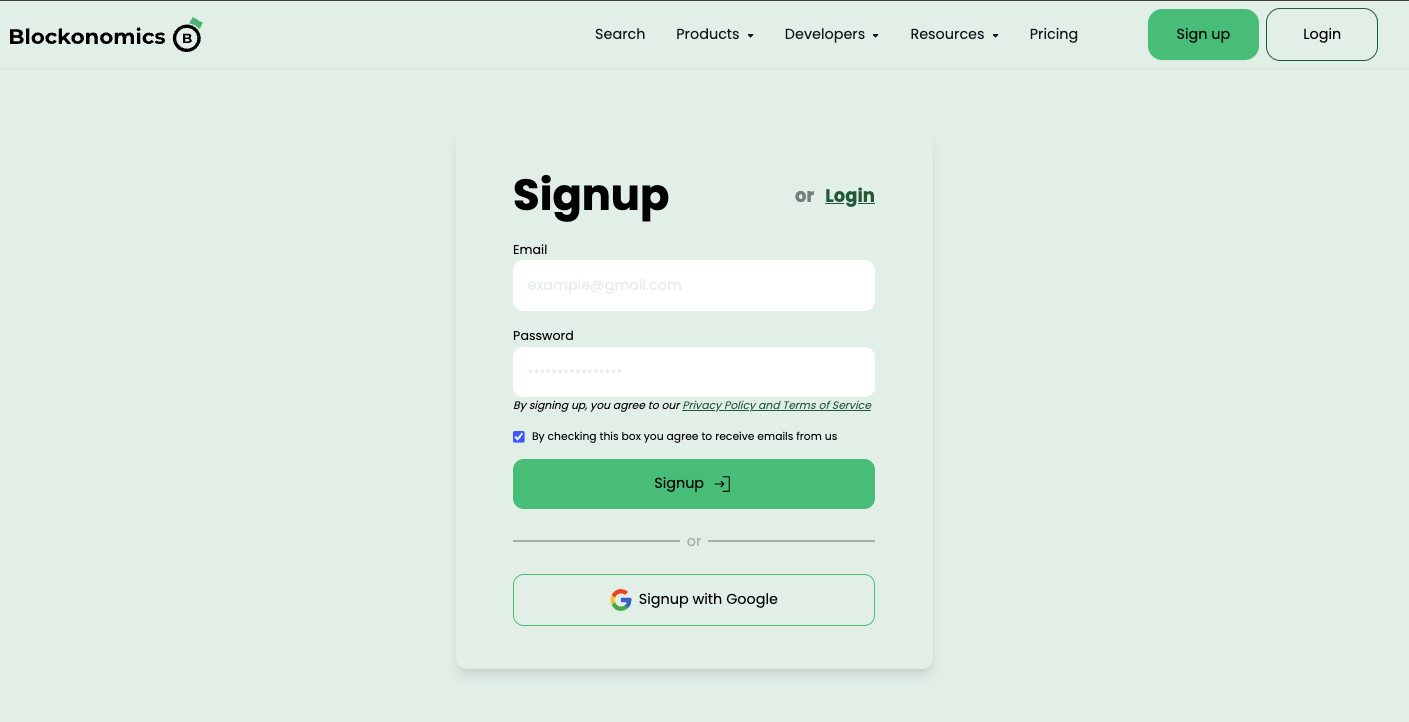
- Go to the Blockonomics signup page
- Sign up with email + password or Google
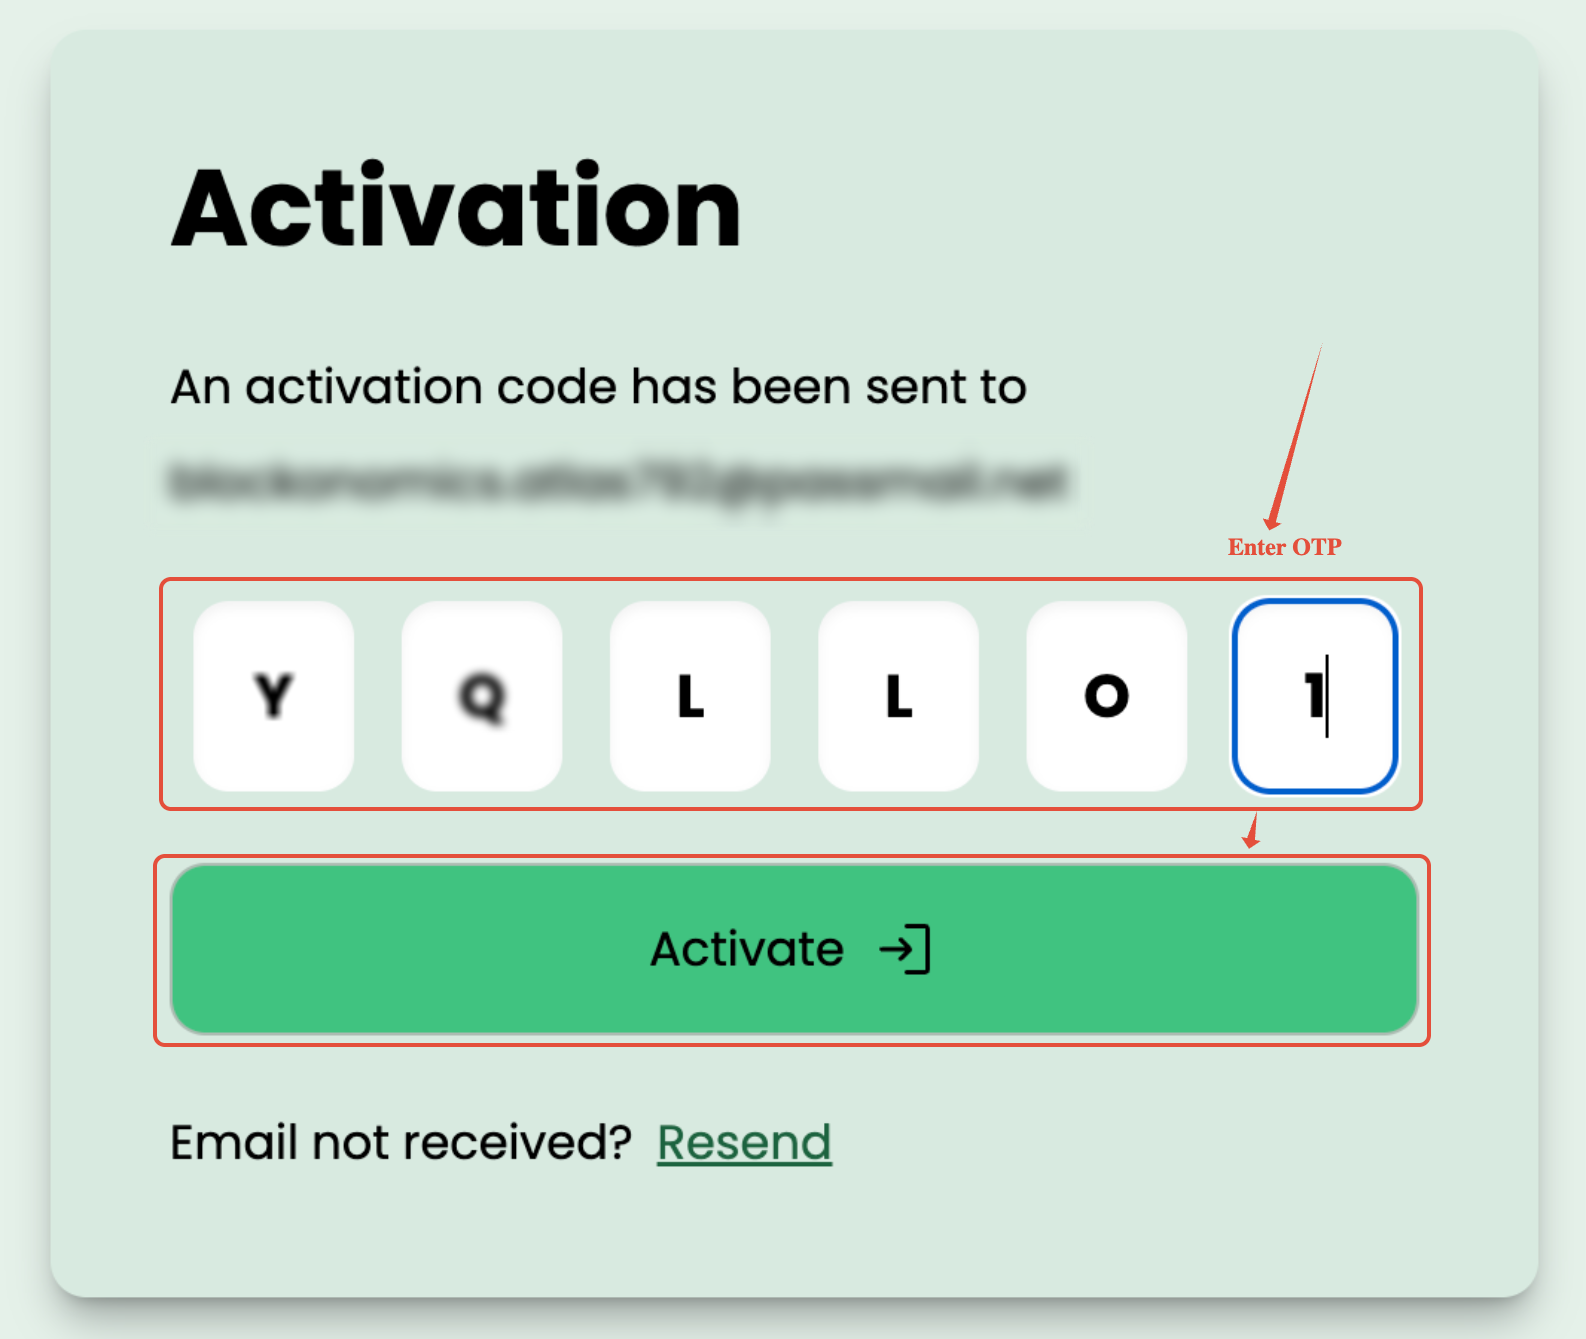
- If using email, verify your address with the 6-digit OTP sent to your inbox. Check your spam folder if it doesn't arrive within a minute — you can request a resend from the verification screen.
Step 2 — Add your wallet
Payments go straight into your own wallet, so Blockonomics needs to know where to send them.
You have two ways to connect a wallet to Blockonomics, pick whichever fits you best.
Option A — Chui Wallet (Recommended)
Chui is a non-custodial browser wallet that connects to Blockonomics automatically — no xPub key or manual copy-pasting required.
1. Go to Dashboard → Wallets
2. Click Install Chui Wallet: This opens the Chrome Web Store so you can add the extension to your browser.
3. Click Add to Chrome, then click Add Extension in the confirmation pop-up.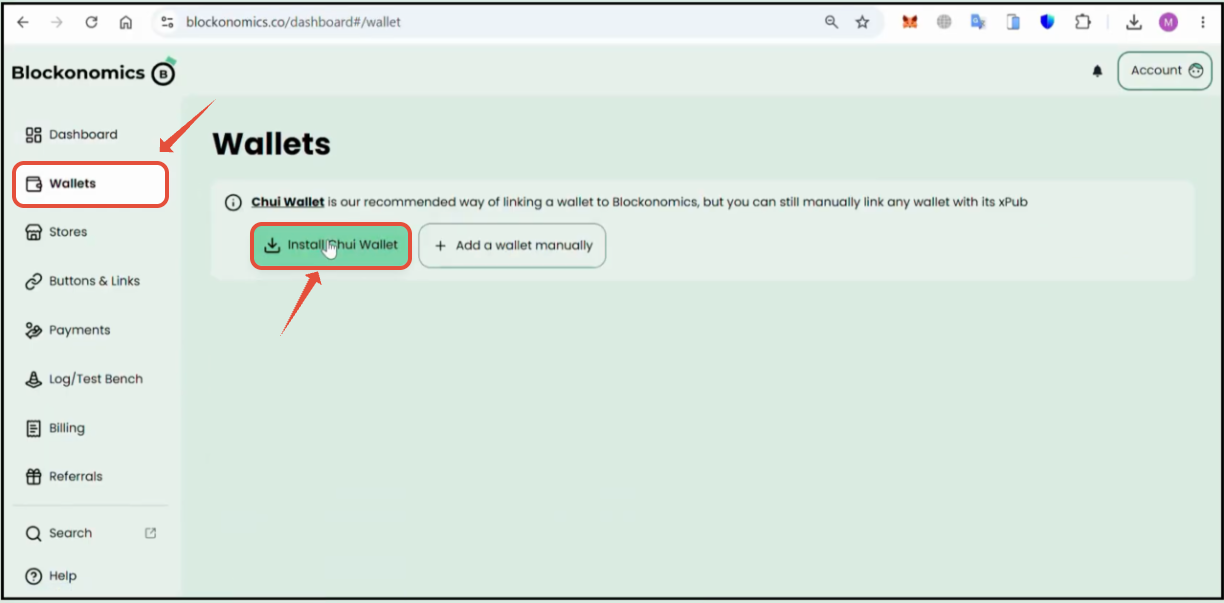
4. Open the Chui Wallet extension, set and confirm a secure password to access your wallet in the current browser, accept the Terms of Use and Privacy Policy, and click Next.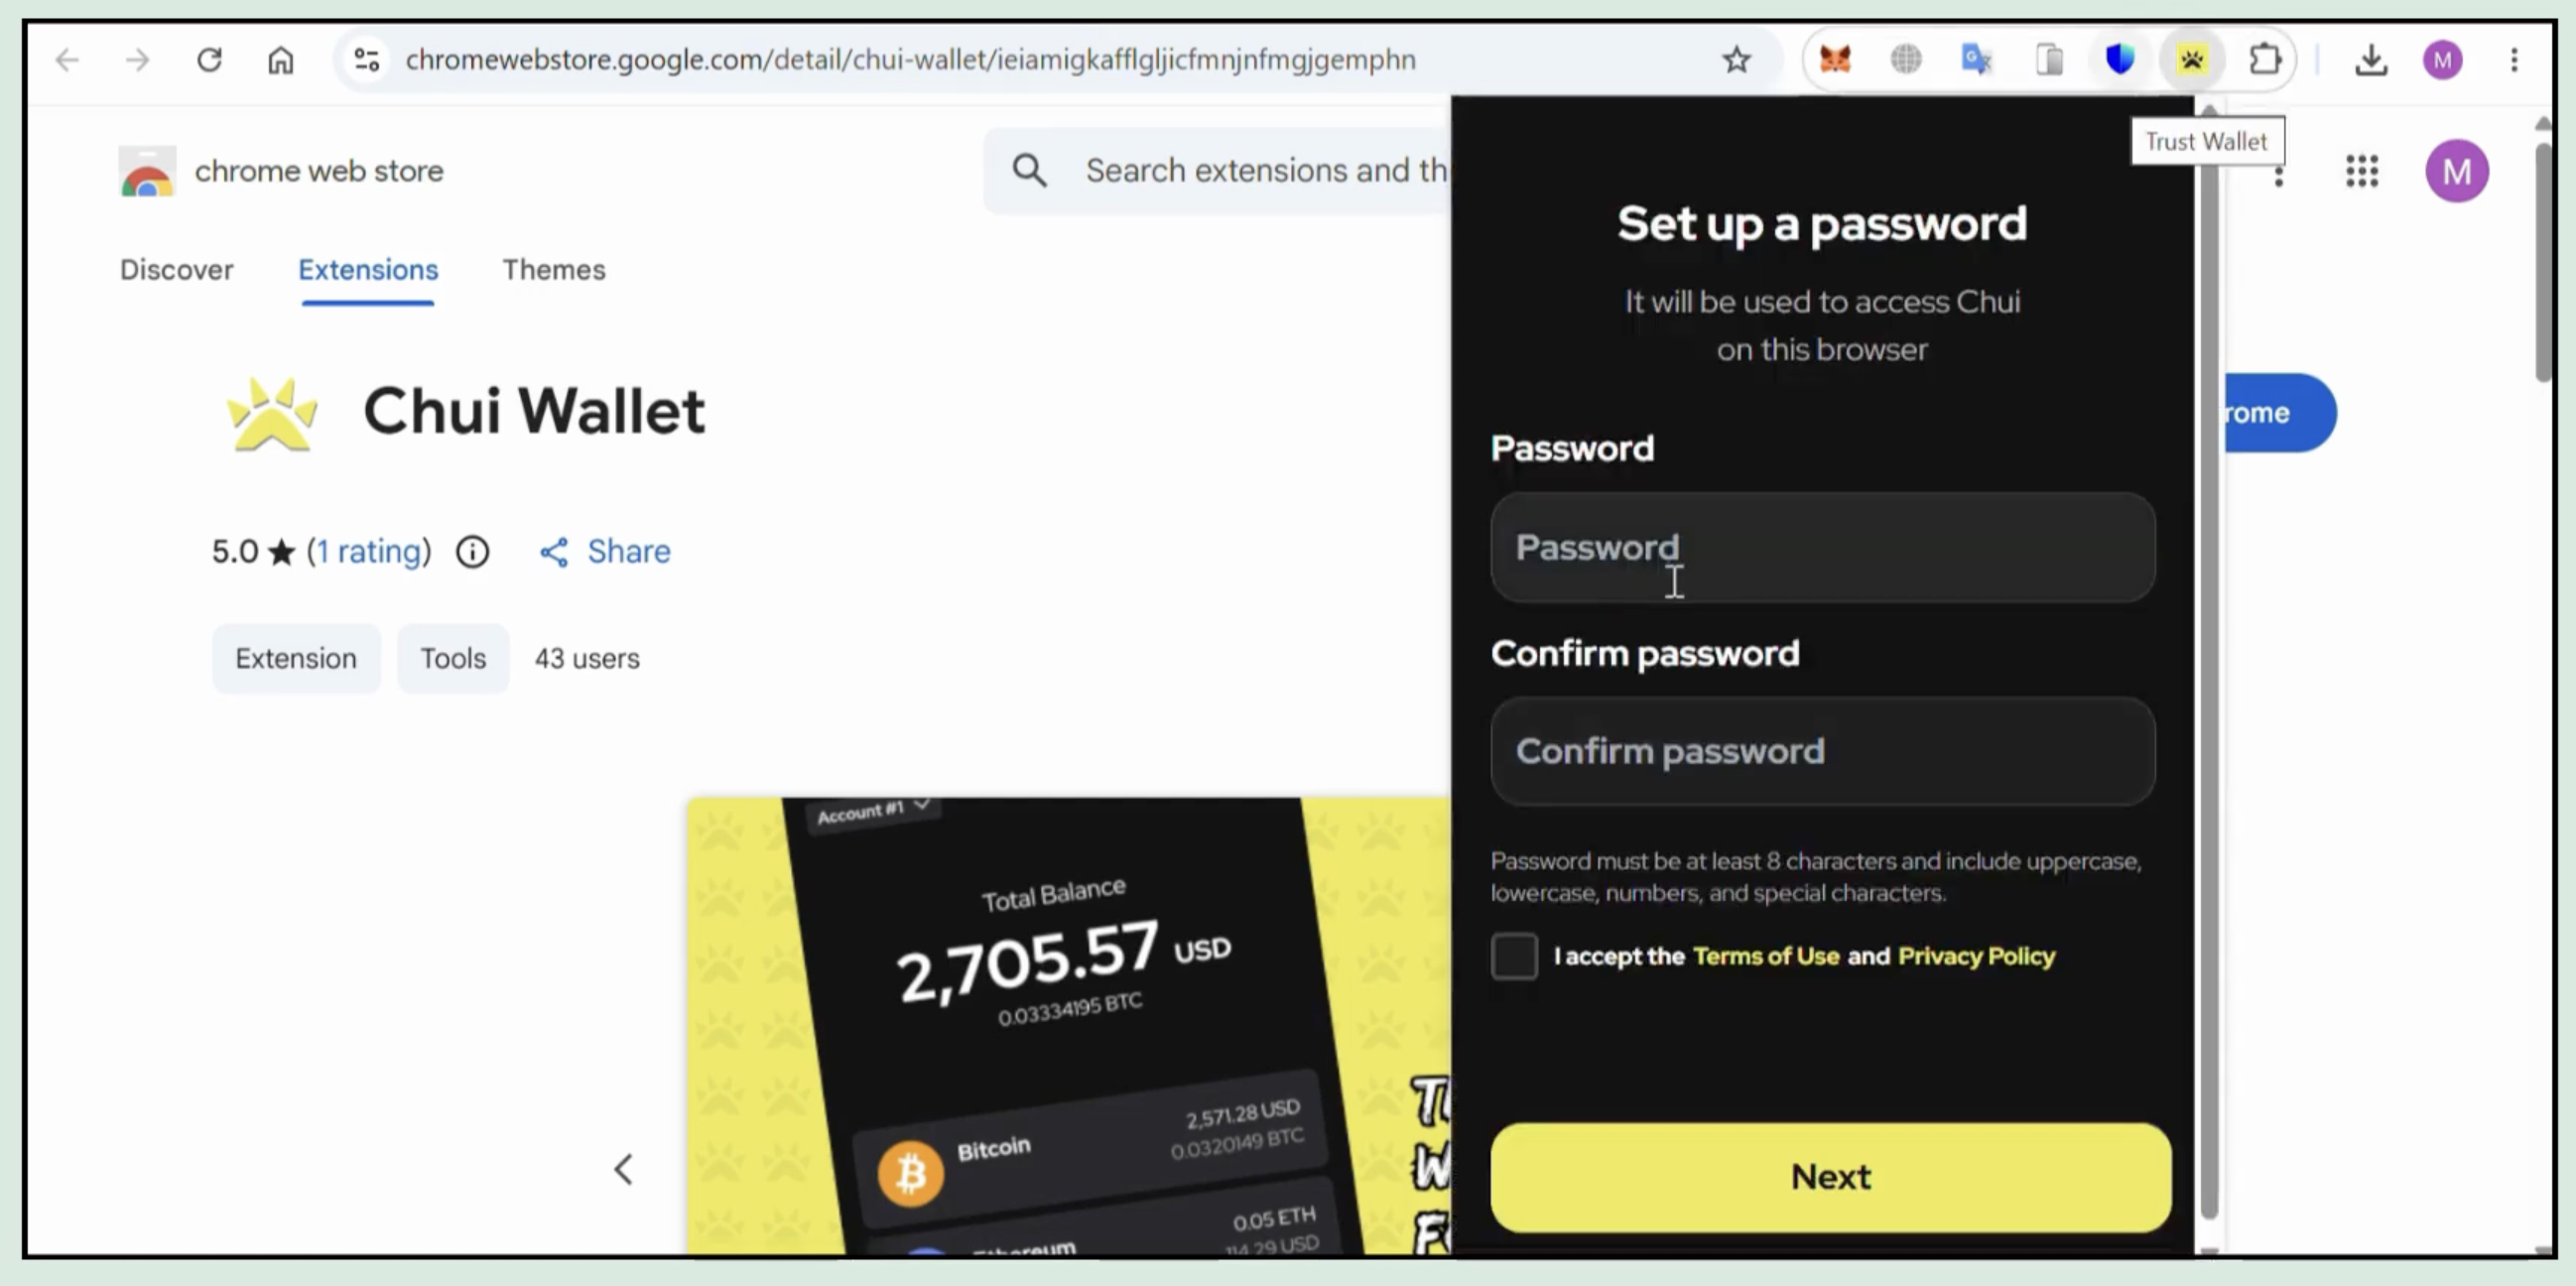
5. After setting up your password, choose one of the following options:
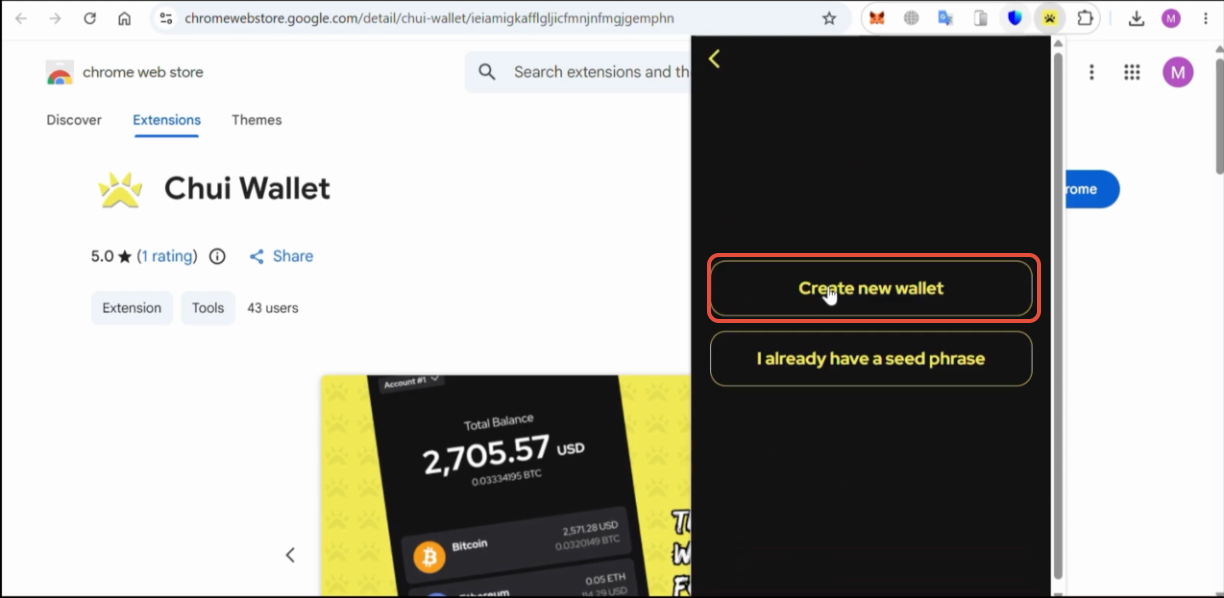
- Create new wallet: Select this option to create a new Chui Wallet.
- I already have a seed phrase: Select this option if you already have a wallet and want to restore it using your existing seed phrase.
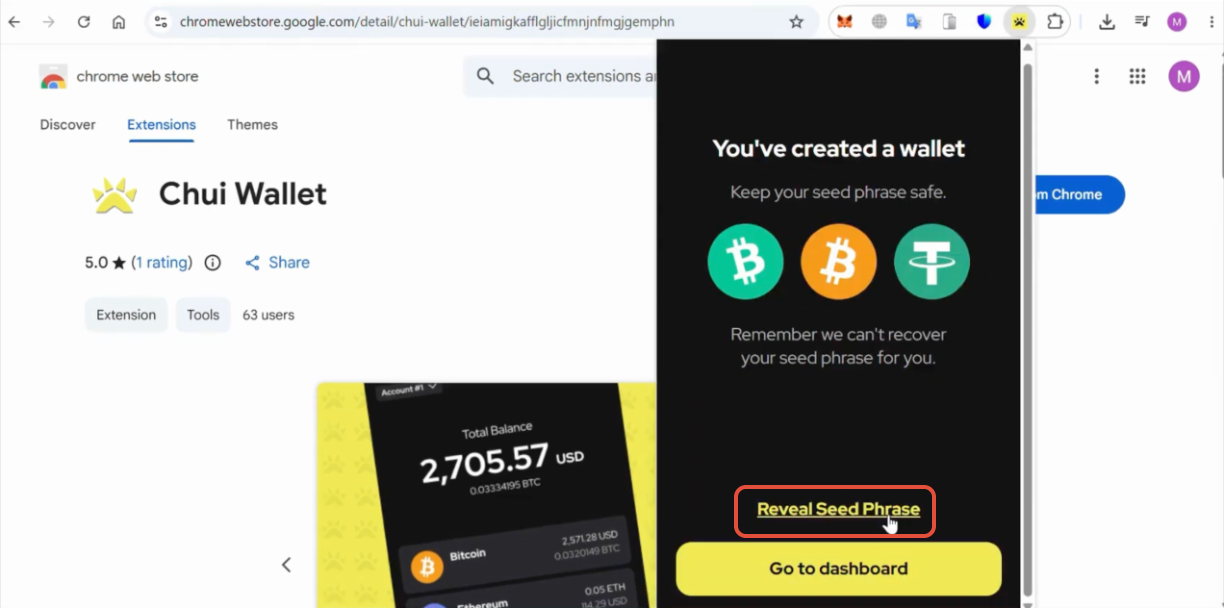
 6. Click Reveal Seed Phrase and copy the words down somewhere safe, you will need them to recover your wallet later.
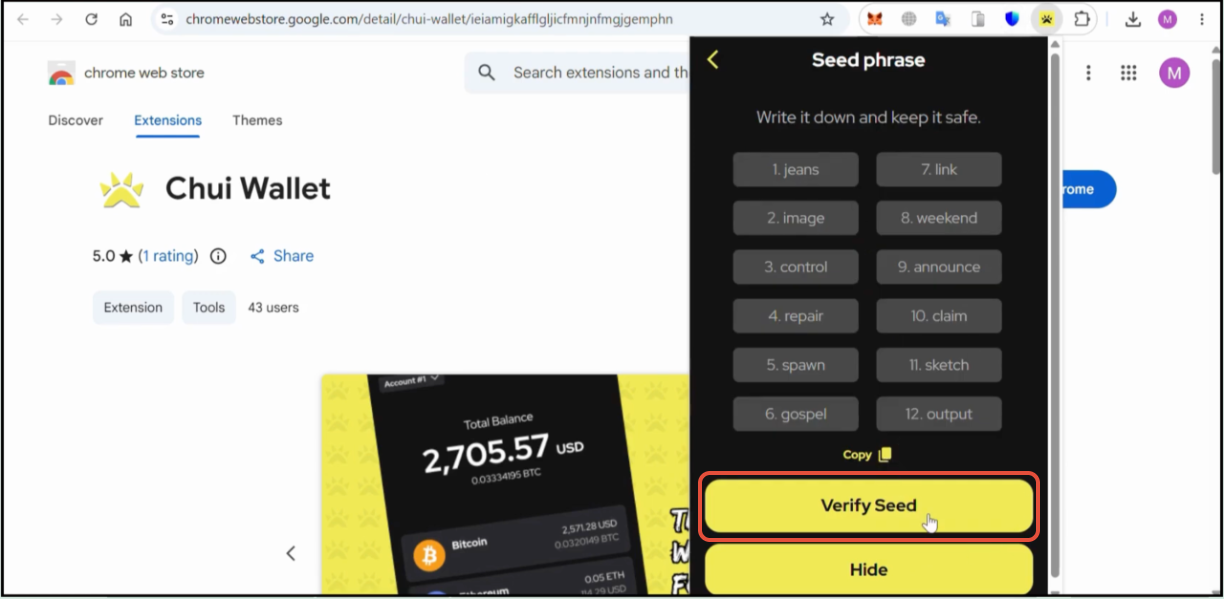
7. Click Verify Seed, copy and type the seed phrase back in to confirm, click Verify again, then Continue. Your Chui wallet is now ready !
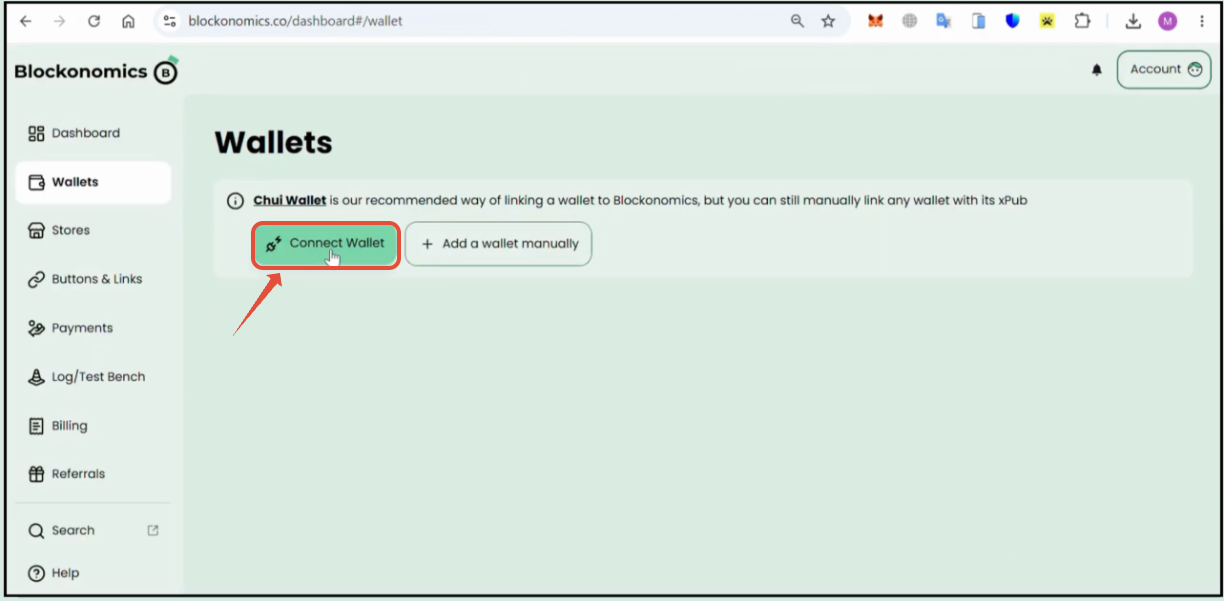
8. Go back to your Blockonomics tab and refresh the Wallets page.
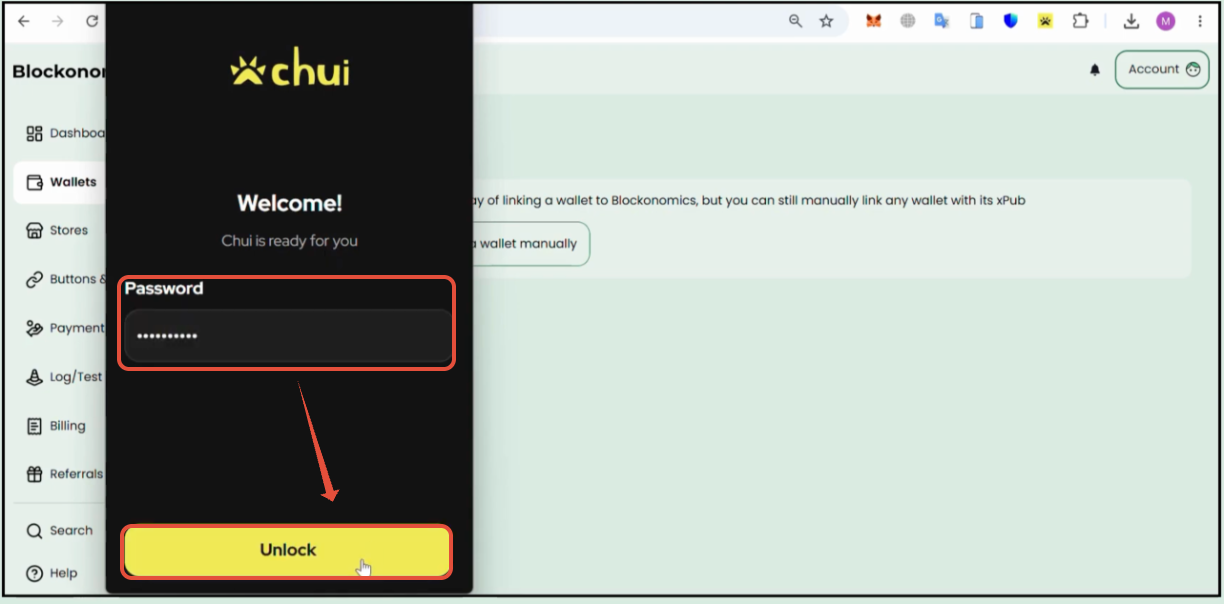
Click Connect Wallet, enter your Chui password, and click Unlock. Approve the connection request when prompted
9. You can view and manage your Chui Wallet setup from the Wallet Dashboard.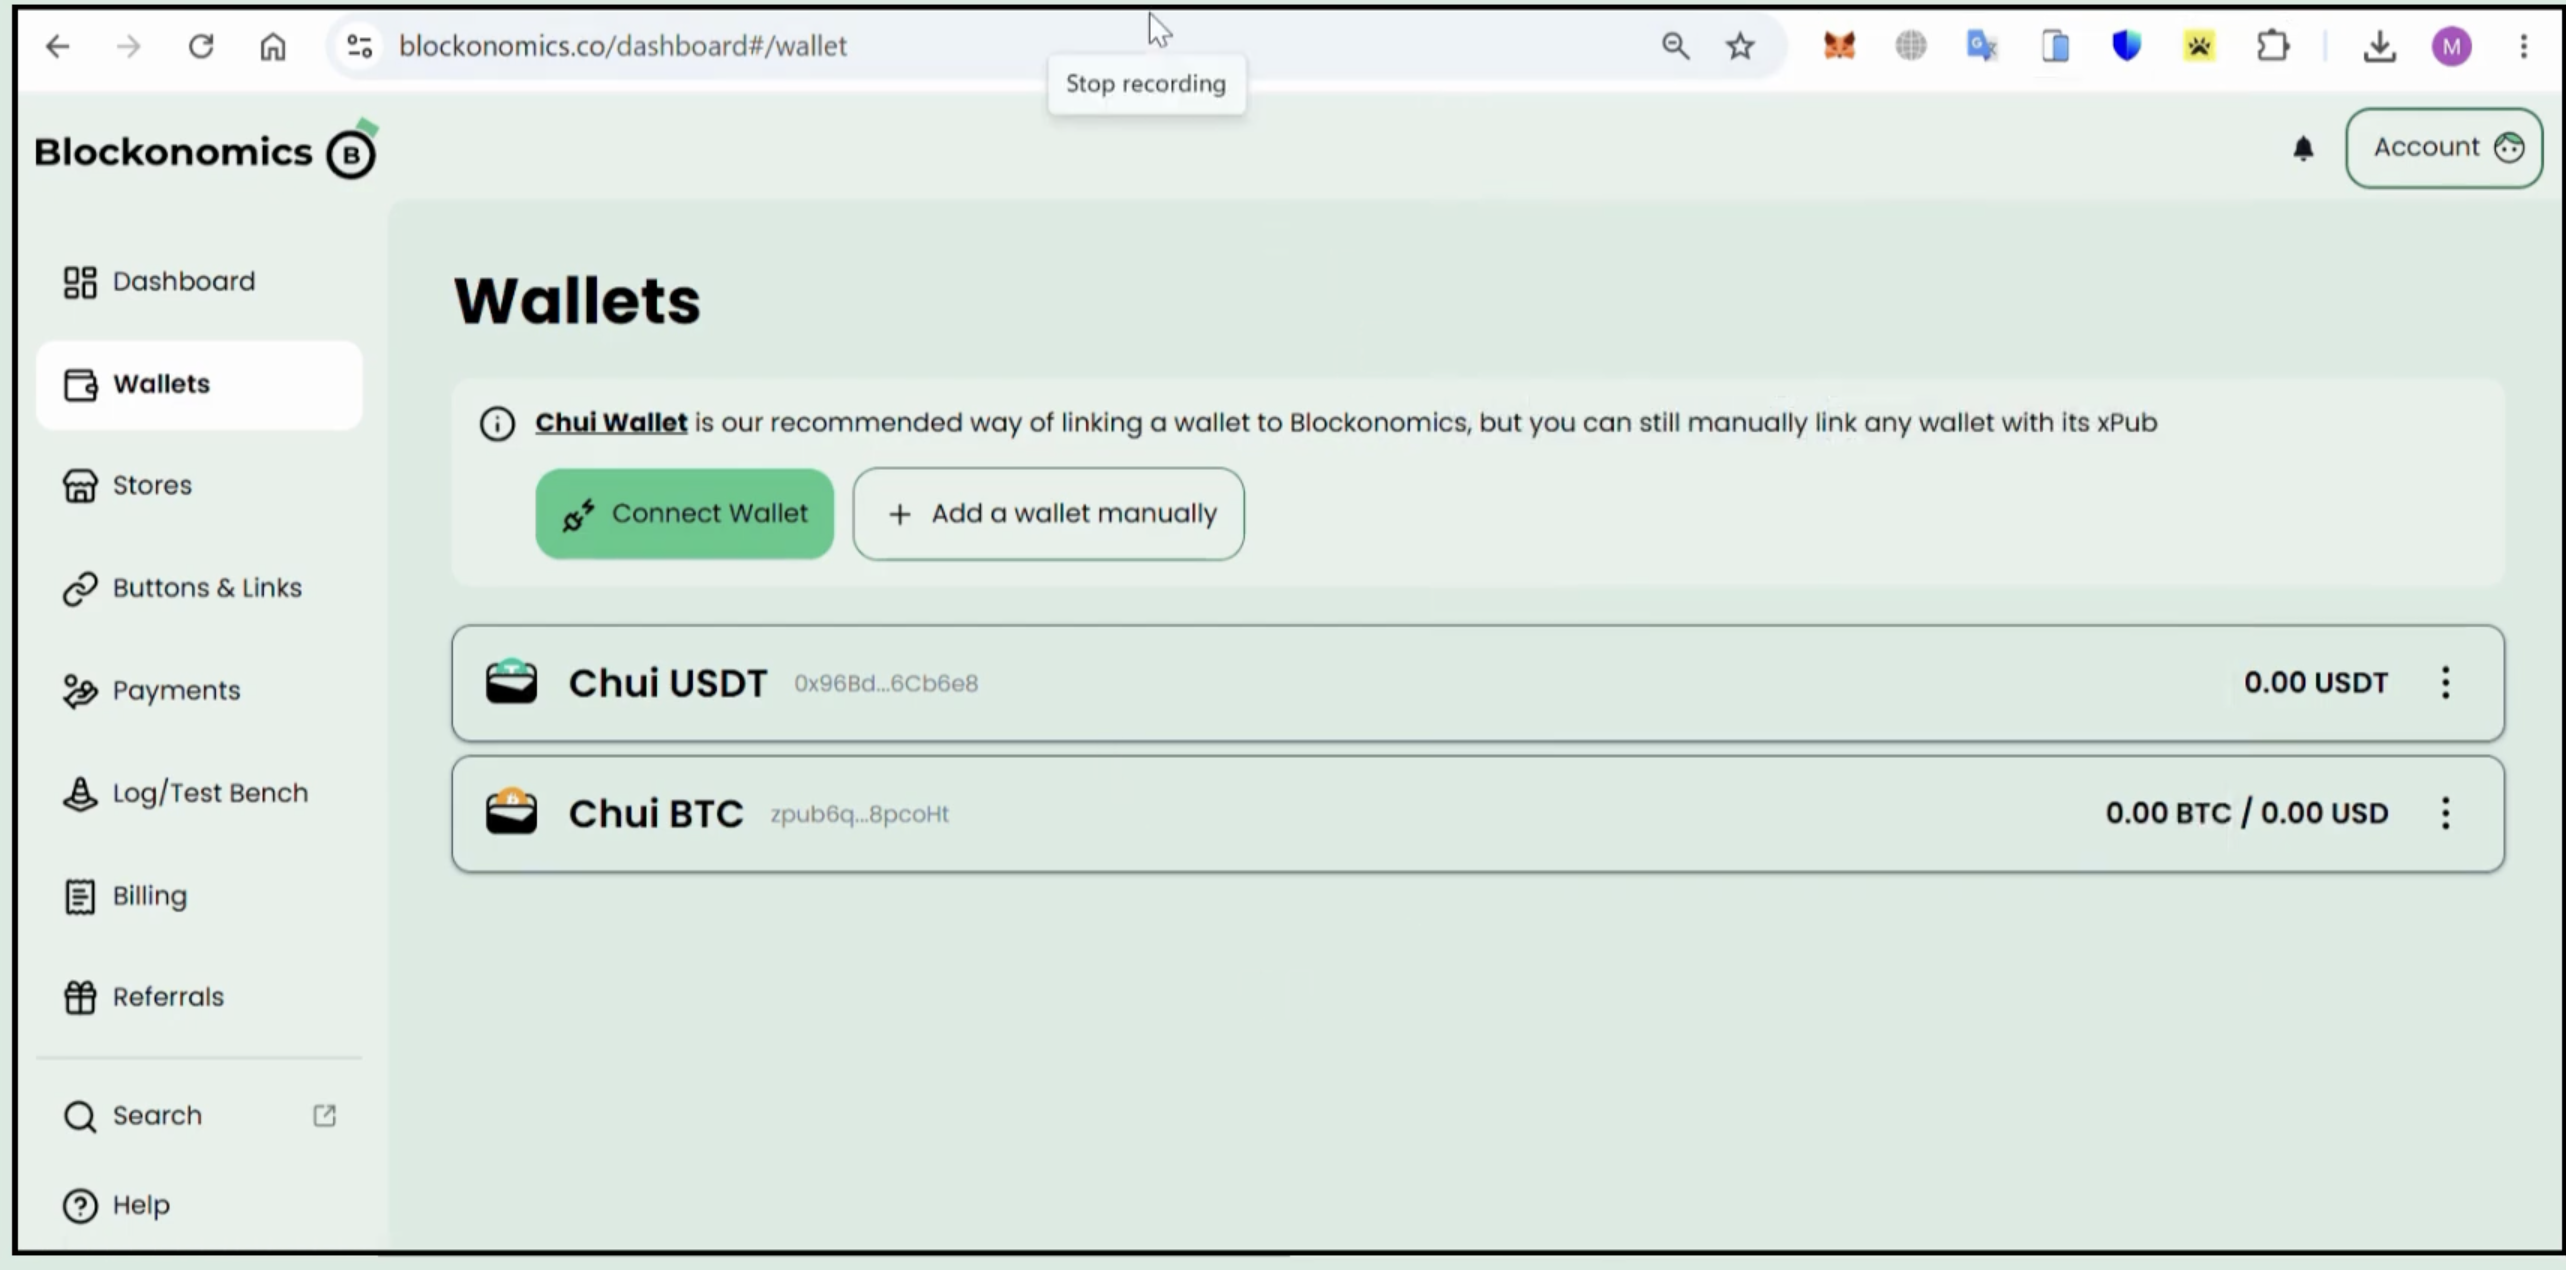
For more information refer to this video.
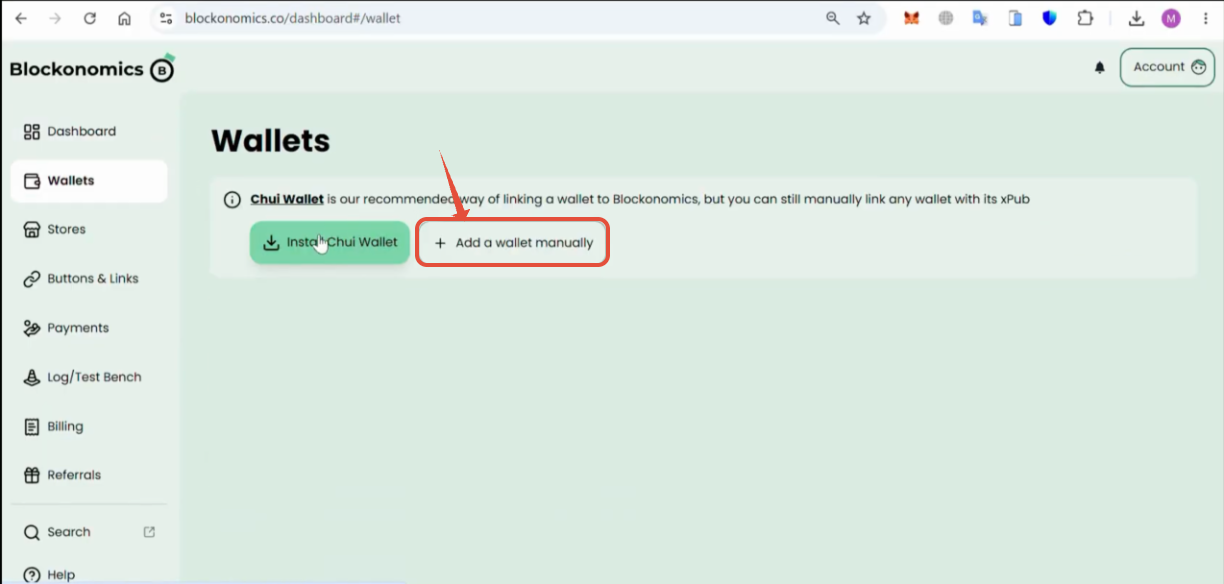
Option B: Connect a wallet manually.
Bitcoin (BTC)
You need a wallet that lets you access its xPub key (also called Master Public Key, yPub, or zPub). That is how Blockonomics generates a unique address for each payment without ever touching your funds.
No wallet yet? Set up Electrum first — it's free, open source, and makes the xPub key easy to find: Electrum wallet guide → Then continue below.
- Go to Dashboard → Wallets
- Click + Add a wallet and select BTC Wallet
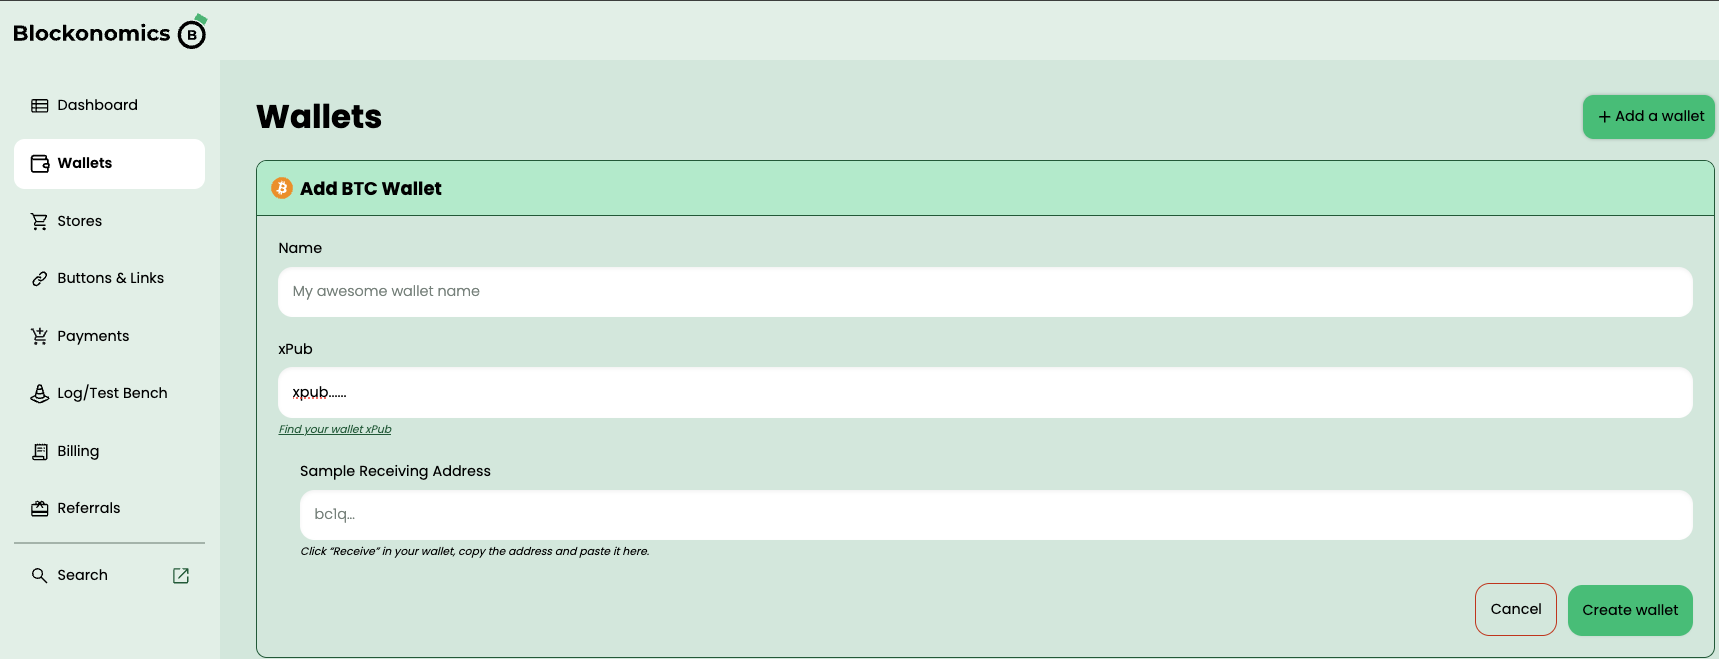
- Enter a name and paste your xPub key
- Paste a sample receiving address from the same wallet to verify they match
- Click Create Wallet
Not sure how to find your xPub? See the xPub guide →
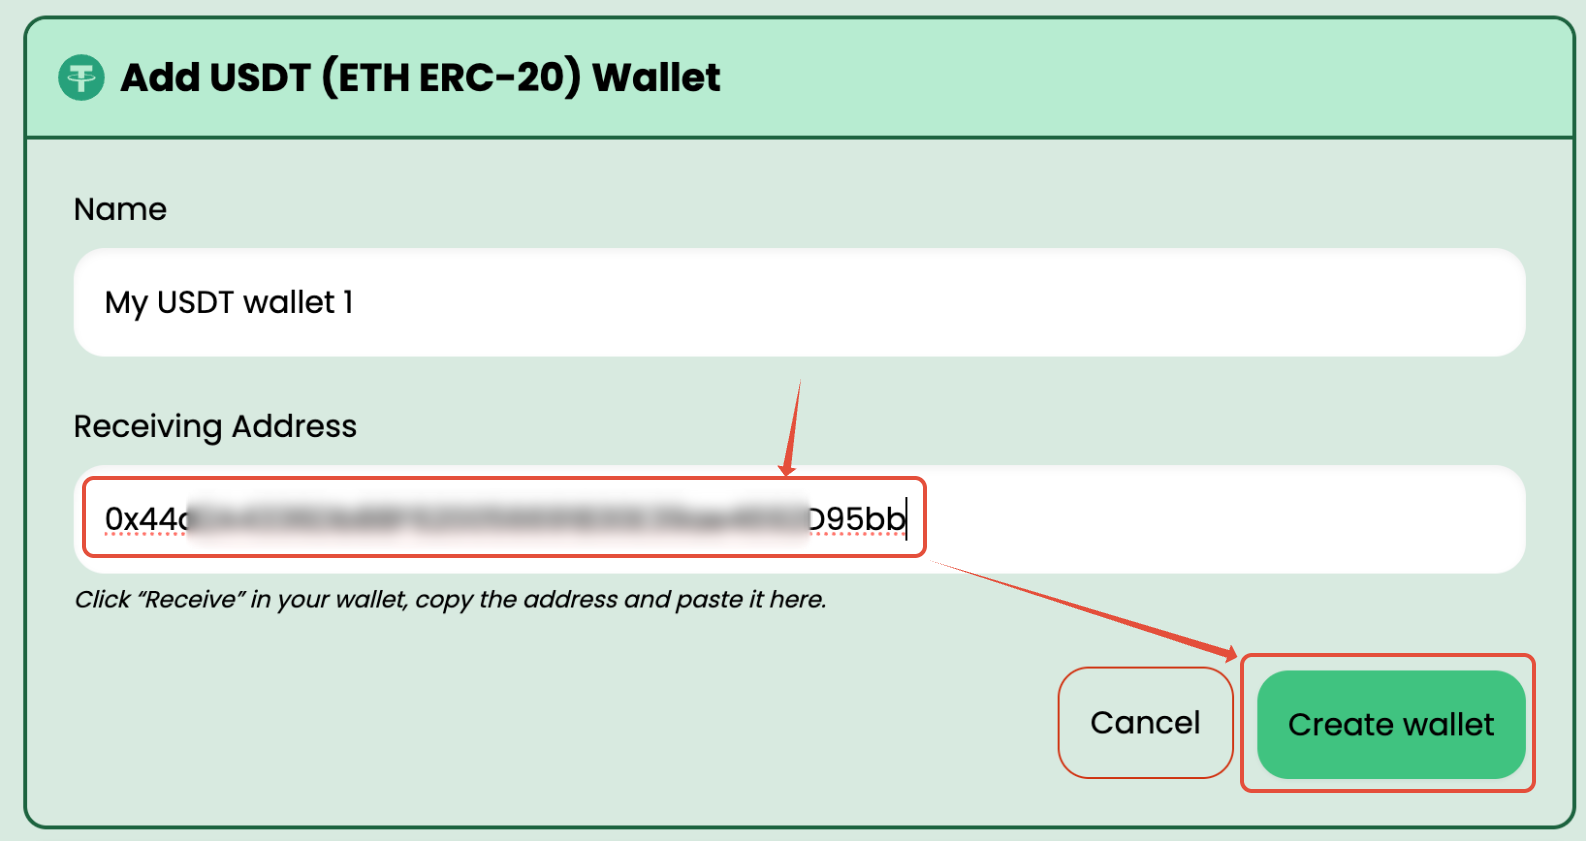
USDT
- Go to Dashboard → Wallets
- Click + Add a wallet and select USDT Wallet
- Enter a name and paste your ERC-20 (Ethereum) wallet address
- Click Create wallet
Step 3 — Connect your platform
Pick where you want to accept payments:
- WordPress / WooCommerce — install our free plugin; its Setup Wizard connects your store to Blockonomics in a couple of clicks.
- WHMCS — add crypto as a payment gateway for your hosting clients.
- PrestaShop — BTC checkout for PrestaShop stores.
- REST API — build a custom payment flow with full control.
Step 4 — Create a store
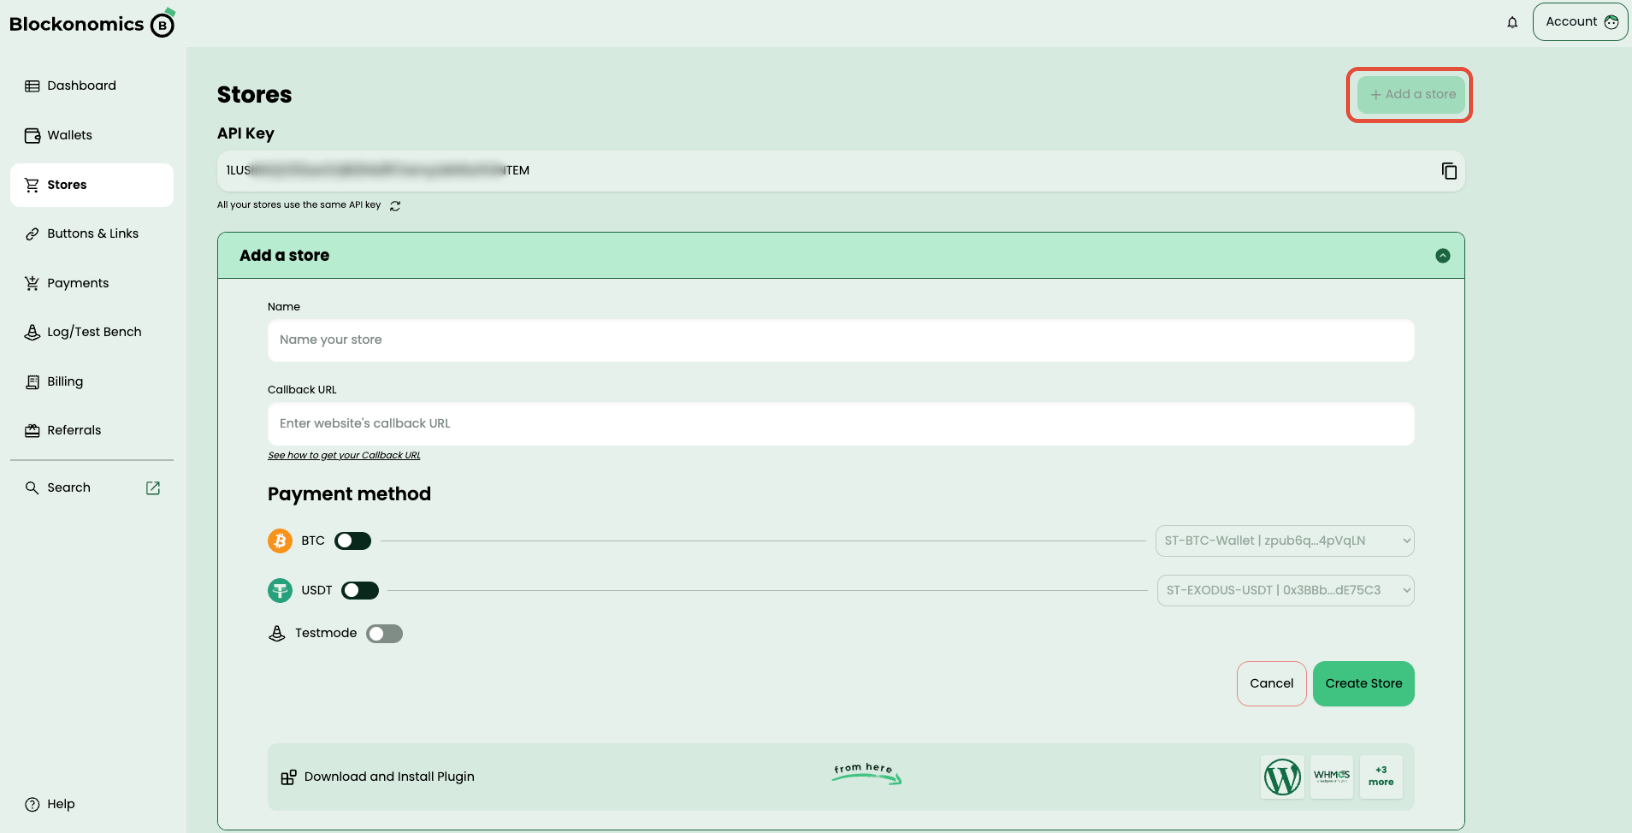
This is where you enable accepting BTC/USDT on your store — the store links your wallet to your website:
- Go to Dashboard → Stores
- Click Add a Store
- Enter a store name — using your website's name makes it easy to recognize later
- Paste your Callback URL — you get this from your plugin settings, or from your own endpoint if you use the API
- Toggle on BTC and/or USDT, and select the wallet you added in Step 2 from the dropdown
- Click Create Store
Used the WooCommerce Setup Wizard in Step 3? It creates and links the store for you — confirm it appears under Dashboard → Stores, then go straight to Step 5.
Step 5 — Test your setup
Every integration includes a Test Setup button — run it after connecting your store. It checks that your callback URL is reachable and your wallet is linked correctly. You should see a green checkmark next to BTC/USDT when everything is working.
How do I confirm my first payment worked?
Place a small order on your own store: the payment shows up on the Payments page of your Blockonomics dashboard, your order updates in your store, and the crypto lands in your wallet.
Prefer not to spend real funds? Simulate the same checkout flow with Test Mode first — you'll see the order update end to end without any real payment.
You are live! Your customers can now pay with crypto directly into your wallet.